Okay, here we go, the 4th of my creative series tips. Now this one is a little different from the previous tips as it required some detailed planning in my head. I have been thinking about documenting my older children’s first day at school but was both procrastinating and feeling uninspired. Then I came across a photo by Skye Hardwick that really inspired me, and thus the thinking started. And carried on for a few weeks.
Then one fine day in late September of last year, we came home from school and I knew the thinking had to cease and the doing to start. So within 5 minutes, I grabbed the things I knew I wanted to use and set-up the shots in a 2 meter square area.
It’s time to tell a story.
Back to School.
If you want to tell a visual short story creatively, for tips, I am going to walk you through my thought processes during this shoot which took less than 45 minutes from start to finish….

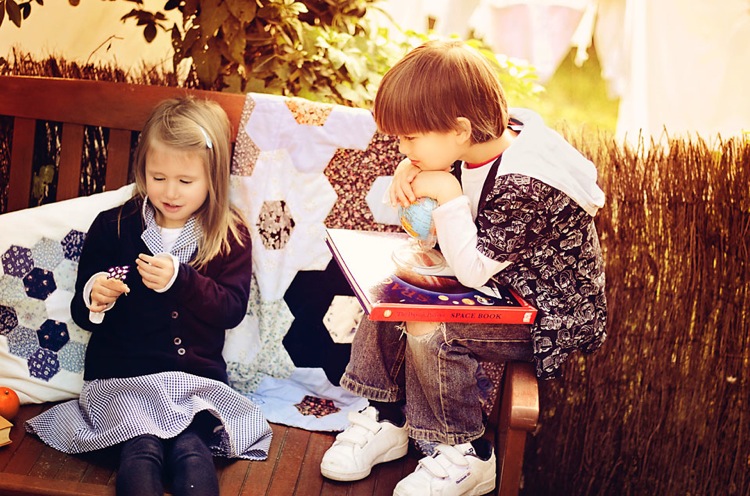
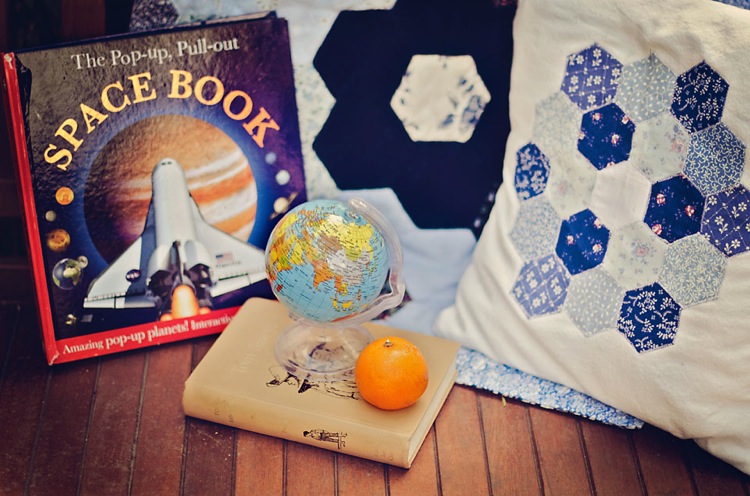
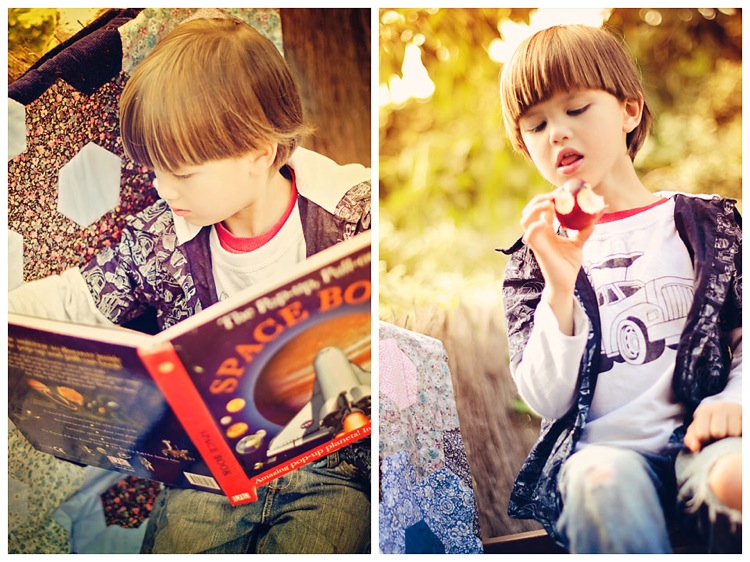
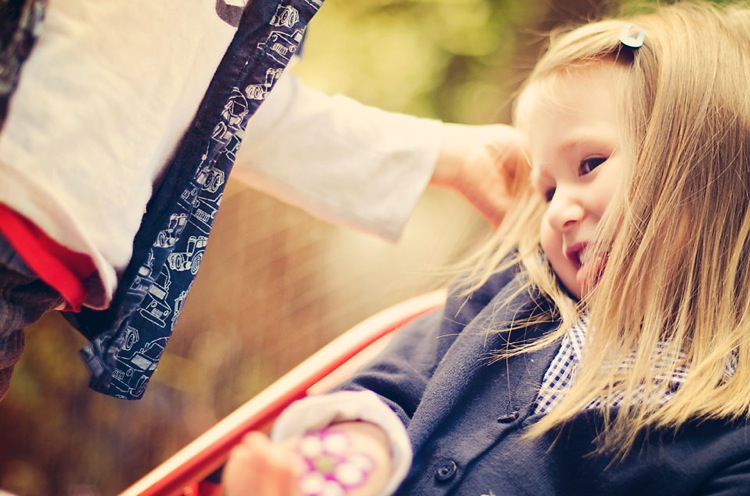
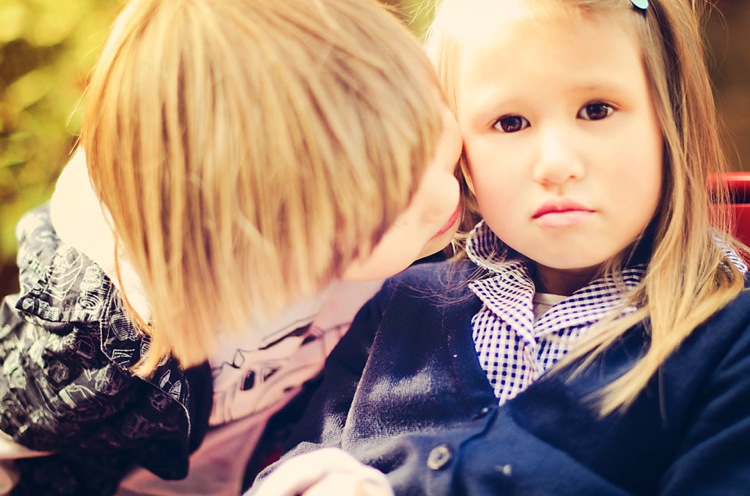
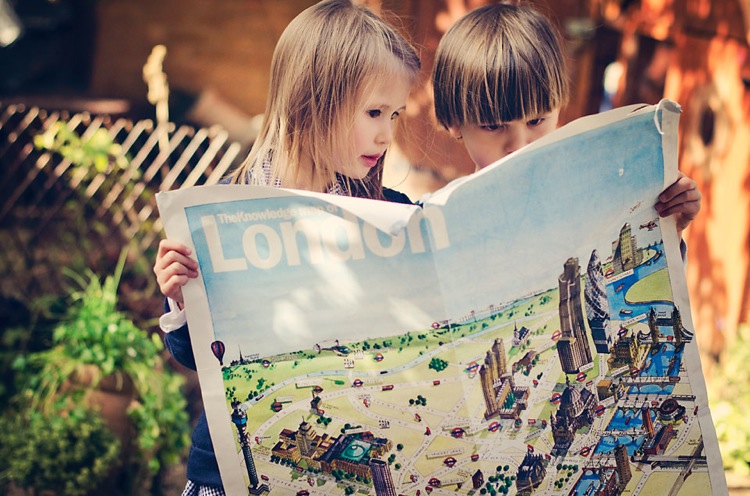

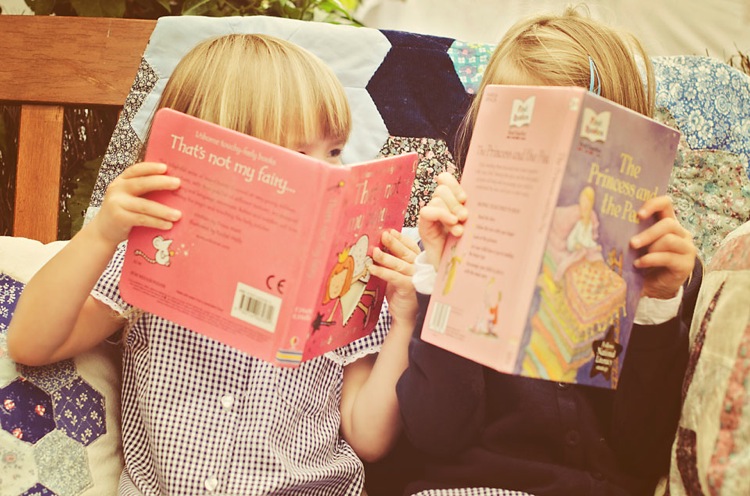
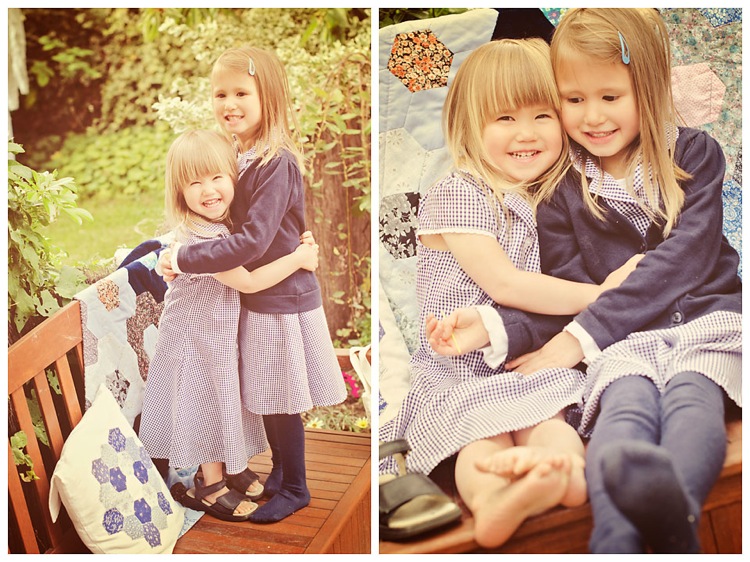
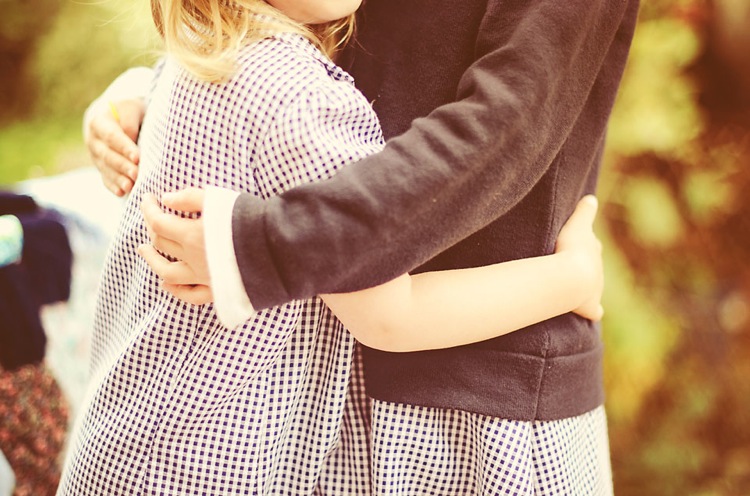
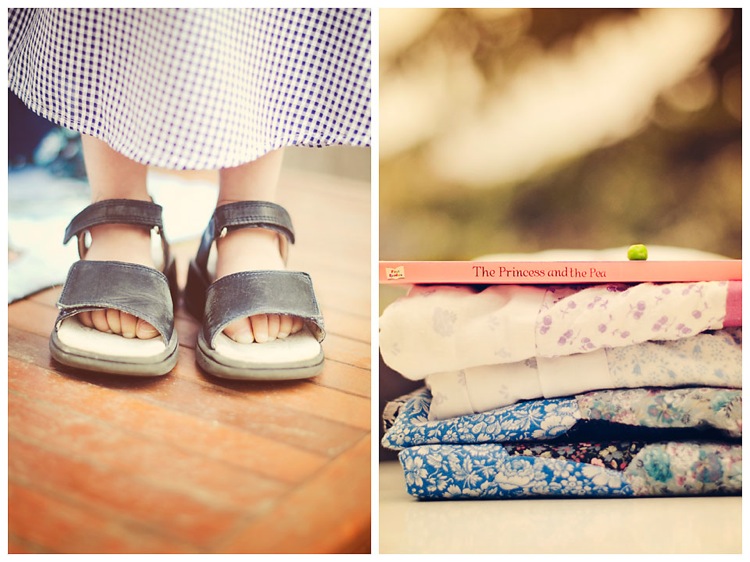
Tip 1: Plan ahead. Think through the story you want to tell. Decide on the details. Picture the sequences in your head. Feel the story. These are the things that during my thinking time I had already decided played a major role in the shoot:
Look – I only had three requirements…golden. sentimental. rich in bokeh. To achieve the latter, I shot open wide and in manual mode.
Light – I waited for good light. I waited for the golden hour – hard to find when you are in London and in the autumn. There is no consistent golden hour in England {imo} it changes most days. It’s elusive and I had to catch it. On the day of the shoot, the sun was shining and it had been a warm day, so warm for autumn that my nextdoor neighbour washed her white bedsheets and hung them in the garden thus making the light diffused and soft.
Colours – They had to coordinate. In this shoot, I went for blues and purples. I grabbed 2 small quilts with a blue and purple palette that we already have, put my kids in blue uniform and clothes, and used a cushion with blue patchwork pattern which I had just finished making.
Props – I used what I found in the fruit bowl, some books that my kids like – again carefully chosen to coordinate with the colour palette, a few sentimental items {such as an old Tom Sawyer book, a London map, an old car, a globe… and a bag I had made} and a single pea.
Plot – Although not always necessary, I wanted this story to have a beginning middle and end. But the middle bit is never easy so I kept it free-flowing and allowed some activity and fun to keep my kids engaged. During this stage, I aimed to capture special moments of my children’s interaction. Truth be told, I gave them plenty of instructions! But the beginning and the end are crucial because they bring the story together, so I had these 2 planned out. My first shot was the top one with the fruit and the last shot was the one with the single pea.
Tip 2: Start collecting props – they need not be bought new, they can be what you already have. Just make sure you know where to find them for when the moment comes.
Tip 3: Wait for the right moment. Everything comes together when the time is right. Putting things together usually becomes very easy and quick once the hard job of planning and thinking have been done.
Tip 4: Don’t forget to focus on details. Details always convey plenty of rich emotion.
Tip 5: If you edit your photos, edit according to your vision. I edited this set the way I wanted it to look; there was no other person to please, just myself, so I went all the way and tried something new to me.
Click here to view the complete set. I can’t wait to see your take. Post a link below when you’re ready!

