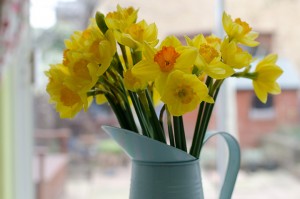
Just a little recap, this is my first experience with the Nikon D700 professional camera and as a satisfied Nikon D7000 user, I wanted to know the differences of both bodies, sensor aside, and just how much better the professional body is at over double the price. If you haven’t read my previous comparison posts, click here for part one and here for part two.
For this comparison I used the Nikon 105 VR f2.8 G lens. It’s my first shot at a Macro Lens. This lens is a great portrait lens on a full frame camera and very handy for long range on a crop sensor as it’s the equivalent of a 157mm on it. As to the settings for this comparison, they varied slightly but generally between f4.5-f.8, speed 1/100-125, ISO 400-1000 despite being taken right by a huge window in full daylight.
You can read my verdict below the images.
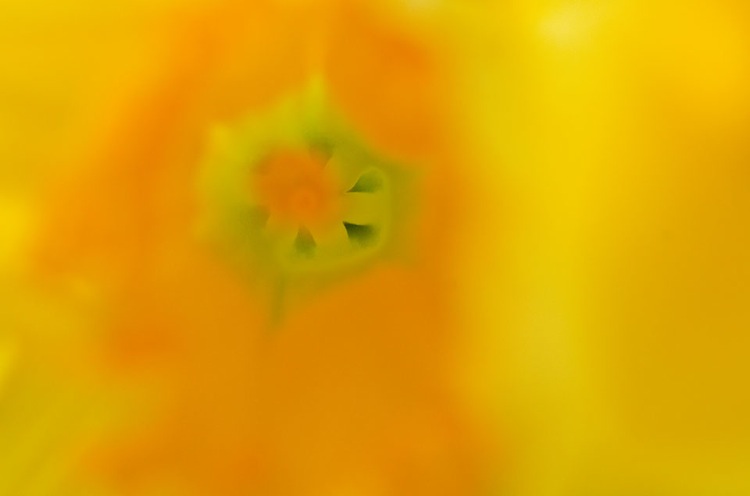
Nikon D700 daffodil shots
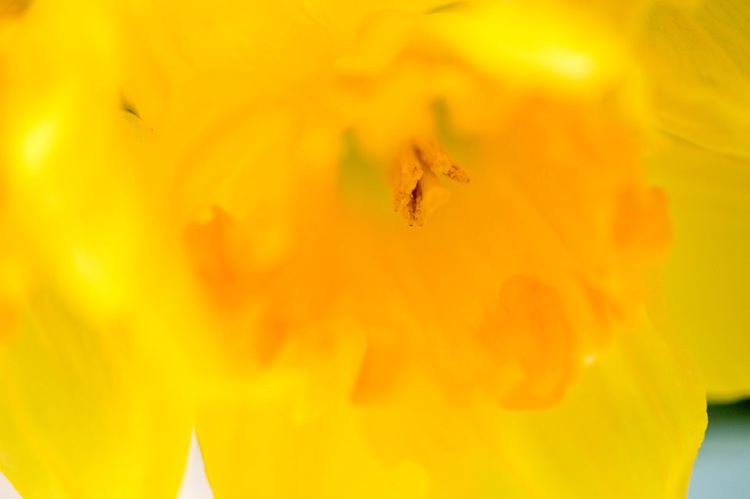
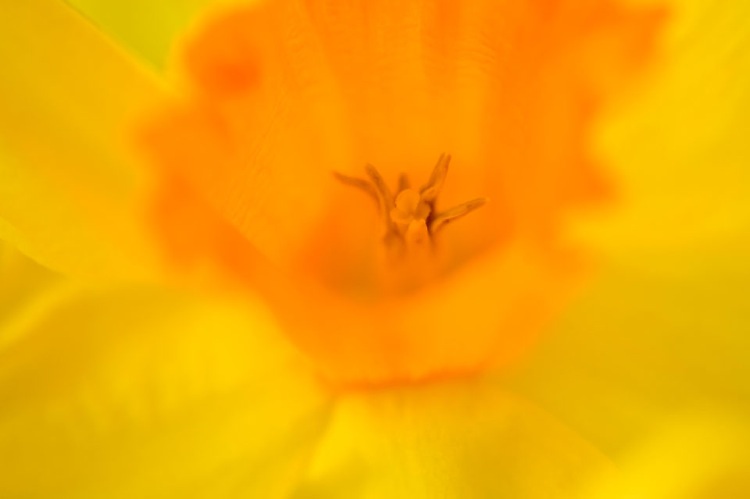
Nikon D7000 daffodil shots
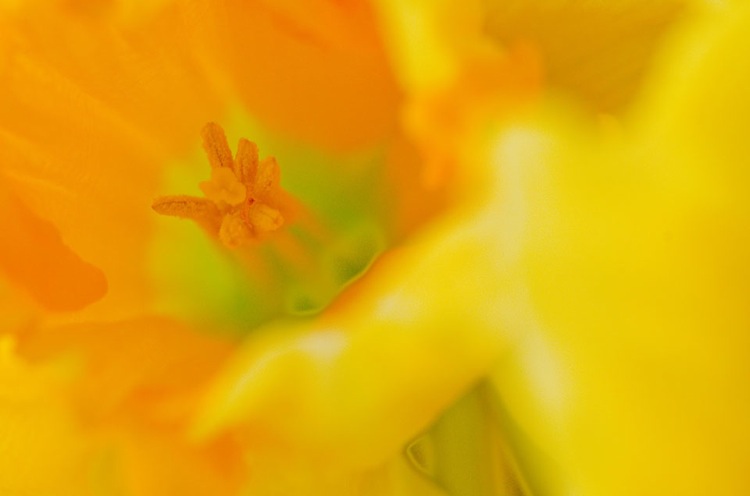
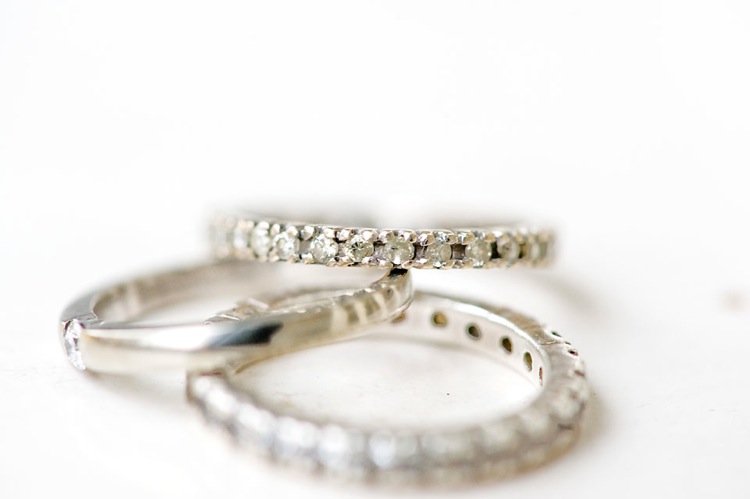
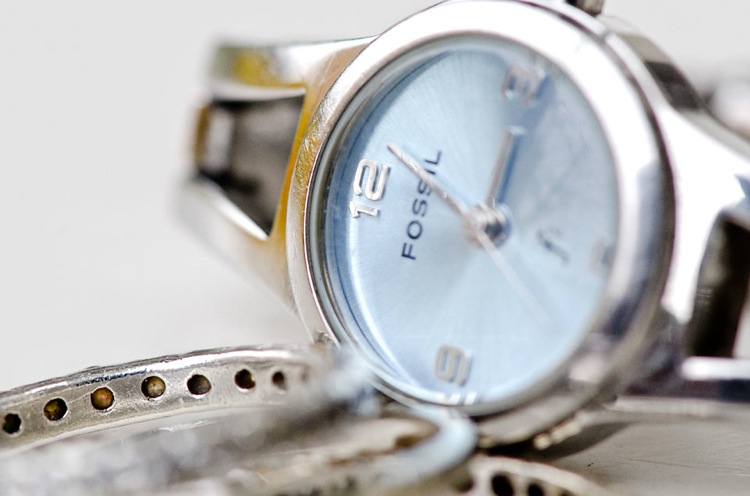
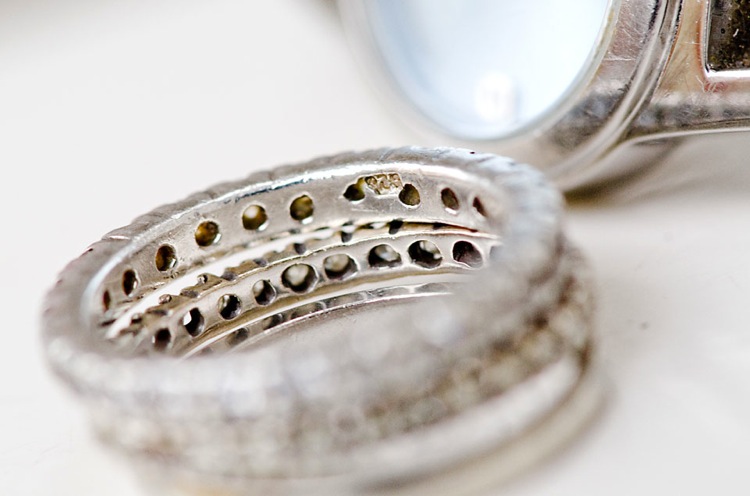
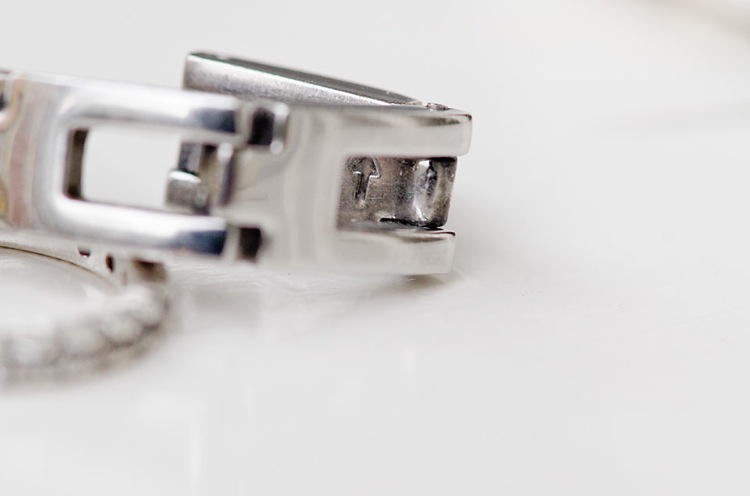
Nikon D700 rings/watch shots
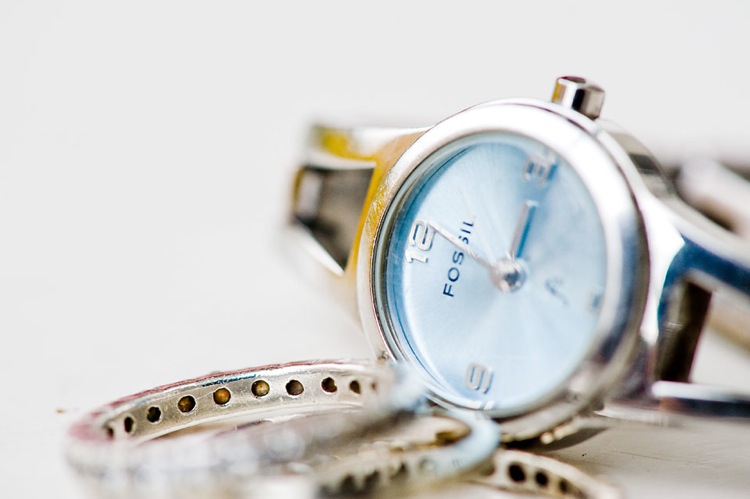
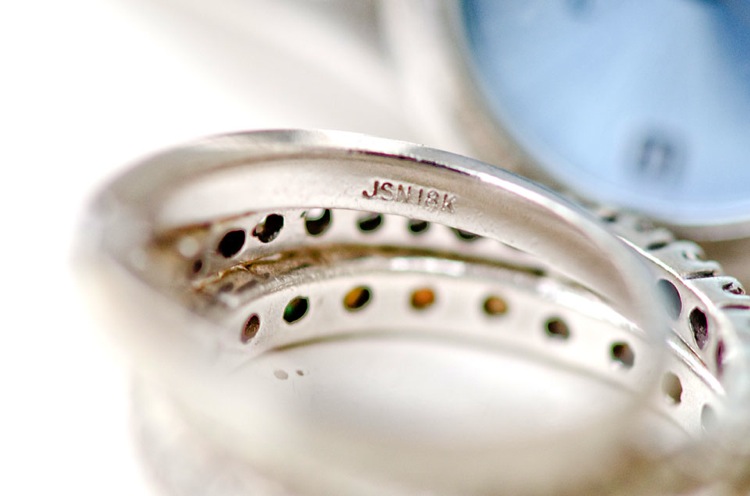
Nikon D7000 rings/watch shots
My verdict:
First impressions: I wanted to get in as close as the lens and camera would allow as what would then be the point in using a Macro? I have to say I’m a little disappointed I could not get close enough with the D700 as easily as with the D7000 with its crop sensor. It was incredibly difficult to get the point of focus really sharp ; the moment I moved by a centimeter I’d lose focus – that’s how sensitive the lens is. I tried to support the camera on a chair but I still had to tilt the camera handheld when composing – I know now I would need a tripod next time.
I’m a little pleased with the last ring shot taken with the D700. That took a few really hard tries. I often had to resort to Manual focusing if I wanted to get really close especially when trying to focus on the inscriptions on the inside of the rings.
The D700, once again proved to have fast and sensitive focusing – zippy! But on both cameras, it was very tricky to get sharp focus on the daffodil with its softer edges and subtle colour differences. I had to be very still otherwise I’d lose focus. The transition from point of focus to depth of field was more pronounced on the rings with their hard defined edges as single focusing was easier to pinpoint and hold. It was real fun trying to compose and choose focus points, despite my sore neck and achy arms!
The images above have not been cropped or cleaned up in any way. However, I have had to edit them in ACR and brighten them up a bit more in PS because even with the fairly high ISO in daylight, they still came out dark. Plus the fact that I shot in RAW meant they were always going to be a touch darker when opened on ACR because the camera’s LCD screen shows a Jpg version which is always brighter. I digress here but that is why it is more accurate to check the histogram rather than relying on the LCD preview. With the rings on a white chair though, it was difficult to gauge accurate exposure whilst trying to hold focus with hardly any blacks in the set-up and so much white area.
No noise reduction was applied on any of the images. Despite some noise inevitably being introduced by brightening up in post processing, both cameras still look very clean and noise-free even at ISO 1000.
I’d say my first attempt at Macro is very poor indeed. Since writing this post, I ‘ve had more practise with it and I think I’m happy with the progress I’m making. Macro photography takes a lot of practise. But one thing is for sure: I have a new respect for Macro shooters – it’s not an easy task, even with a good lens! I guess if I use a tripod, remote trigger and ringflash amongst other Macro accessories, they would help eliminate the problems I have so far encountered and make good Macro photography not just more fun but also easier to achieve.
I love editing and I find it a creative outlet especially that I haven’t painted in a looong time. So showing you unedited images {SOOC} was for me a big and brave step. Hence, I’m very excited about part four! I will be showing a set of fully edited images I have taken with the Nikon D700 in pretty challenging light using the same 3 lenses. So stay tuned! If you found his helpful, please share it. Thank you!
You can find my first impressions review of my Nikon D7000 when I got it nearly a year ago on this link.
In case you are looking to get any of the equipment I use and mention on this review series, you can find them here Nikon D700 and Nikon D7000
Nikon 50mm 1.4 G Lens
Nikon 105mm VR 2.8 G Lens
Nikon 35 mm 1.4 G Lens
Nikon D90
Nikon D800

