If you missed the introduction to this series, read it here first.
Now let’s get started. This is a set of tips for Christmas week or Christmas morning.
Project One: Capture Christmas at home in 5 images
Subject: Any person, little or large
Easy tech-tips: Find a spot with ample light or a light source {such as big windows, lamps, tree lights, outdoors}, turn your camera flash OFF {i.e. set it so it does not fire}, when taking the photo, tuck both arms in, stay steady and hold your breath as you press the shutter {some say press the shutter as you exhale but holding my breath works better for me}
Medium tech-tips: For pocket cameras, select the macro or close-up scene mode, for DSLR select the Av or A priority mode and set your Aperture as wide or almost as wide as your lens would allow, this means a very low f number.
Tricky tech-tips: If you can, it is best to shoot in full manual mode and use selective single focus, but if these sound alien to you, ignore them. If not and you know how to use your DSLR, then I suggest you use these suggested settings. I have included more than 5 images to show a comparison between pocket camera images and DSLR.
Photo 1: Get close and cosy! Choose a Christmas decoration in your home. Get really close to it and shoot at an angle so you need to tilt your camera. Shooting very close or with a wide aperture can help achieve nice blur {bokeh} .
 Photo above is taken with my DSLR and edited only in ACR, no photoshop!
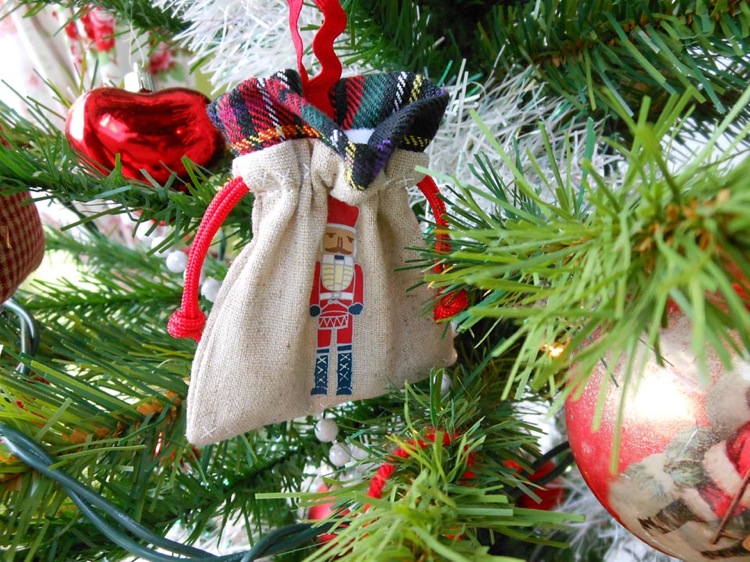 Photo above is taken with my pocket camera in close-up mode and is SOOC {straight out of the camera – no adjustments}.
  Photo above again taken with pocket camera, slightly adjusted in photoshop.
Photo 2: Blur it! Include beautiful blur in the background or use blur as the subject of your photo. Make sure your subject is at some distance in front of the light source. If you can focus selectively, focus on the foreground to completely blur the background.
 Left photo taken with DSLR. Right photo was taken with a pocket camera, at very close range until the camera struggled to focus and then I pressed the shutter.
 The photo above was taken with a DSLR at a very wide aperture.
 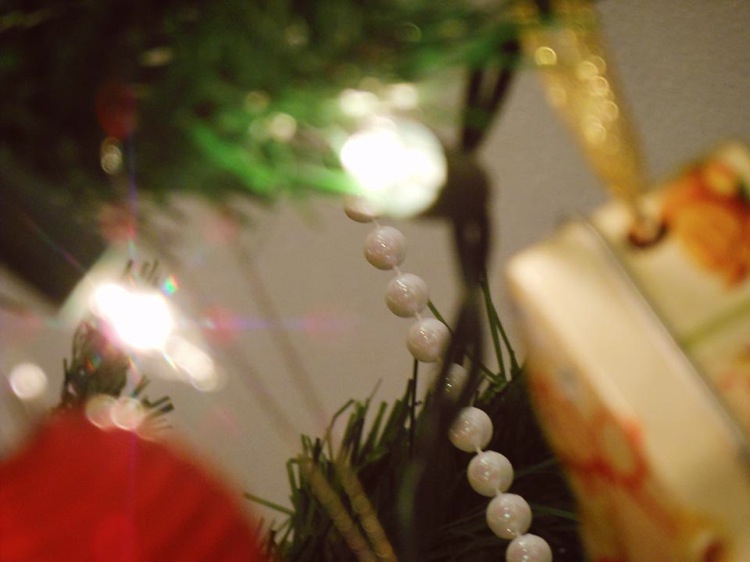 The photo above was taken with a pocket camera at close range, focusing on the beads.
Photo 3: Capture it! I chose a very simple activity – I asked my daughter to put up a Christmas decoration on the tree. I tilted my camera and filled the frame focusing on the action. Left photo taken with DSLR and right photo with pocket camera. Both warmed up in photoshop. 
Photo 4: Mirror it! Make sure there is ample available light. Give your subject something to do like read a Christmas card or wrap a present. Photograph the reflection instead of the subject. Try to use the mirror to frame your subject. In this photo, I decided to get so close to the edge of the mirror so it becomes a very blurry foreground and frame. The mirror has a bevelled edge so it produced another reflection of the reflection.
The left images has been converted to black and white and toned slightly in photoshop. I edited the image on the right to look vintage – this is the type of look Instagram can do and in just one click.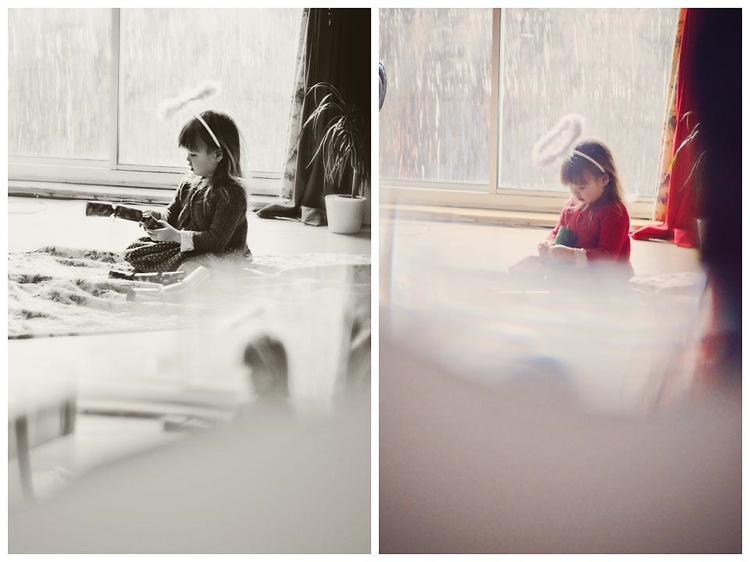
The photo below was taken using my pocket camera.

Photo 5: Look straight down! In the photos below, I asked my youngest to lie down under the tree and play with the tree baubles, I was also tickling her with my toes to get some genuine expressions. Top tip: I made sure that the light from the window was illuminating her face so there is light in her eyes.
Top photo shot with pocket camera, bottom with DSLR. 

So there you have it, 5 creative ways in capturing some Christmas joy in your home. If this blog has inspired you to think of variations and more creative ideas, do experiment and share!
Remember this heart photo from my last post?
 Here is how I did it! Follow the steps below and point your camera towards a light source.
Bonus for DSLR users: Have you ever wondered how an image like this is taken?  Well I have and decided to try it. It’s surprisingly a very simple process and takes no more than 10 minutes to achieve. I realise these are far from perfect but they were fun to do! Images below were brightened in Adobe Camera Raw only, no colour enhancements in photoshop!
1. Cut out a circle from a black piece of card, the same diameter as your lens. Fold it in half and cut a small 2cm shape in the middle. Open it and put it in front of your lens. I inserted mine in between my lens and filter and cut it slightly smaller so it was snug.
2. Set your lens focus to Manual and the camera aperture to as low as you can get. {My settings were A 1.4, S 160 ISO 400} As you frame your fairy lights, turn the lens focus until it looks very blurry but you can still see the shape. Take the shot and be surprised. Experiment with your settings if you need the image to be more blurry or brighter.
Here’s a couple more…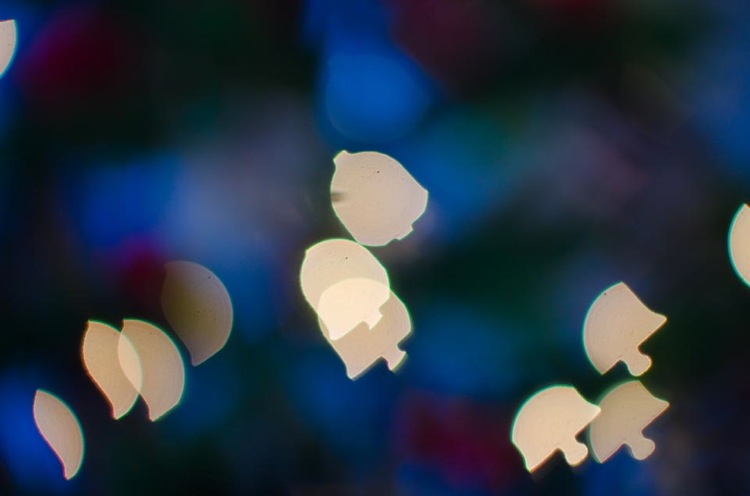
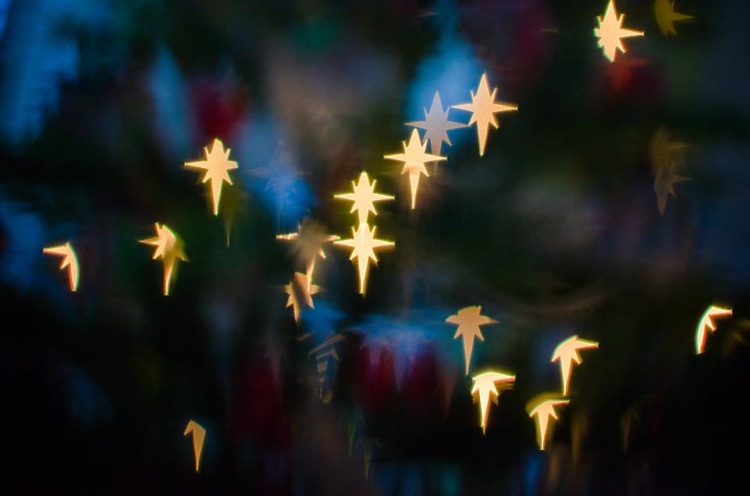
Hope this was fun for you as it was for me. There are many professional templates available on the internet that you can use to achieve cleaner and better shapes and saves you from the fiddly cutting. Please share this page if you found it inspiring. Stay tuned for the next one – it’s all to do with a pocket camera and a Christmas cake!

