When we acquired our DSLR a couple of years ago, it was my husband who read the manual, set the camera up and showed me how to take photos. When it comes to software and gadgets and how they work, I am not one of those sensible people whose first stop is the manual; I would rather be shown the process step-by-step, or fiddle with the equipment myself stumbling along the way, or find the answers with a click of a button on the internet. The quicker and less painful the process, the more preferred it is in my eyes. This time however, I decided to seriously learn the controls of our DSLR rather than merely pointing and shooting. I’ve had to sit down and painfully read the minute text of the instruction manual to understand what to do with them. I was clueless! But even then, reading was NOT enough; practice is what really matters.
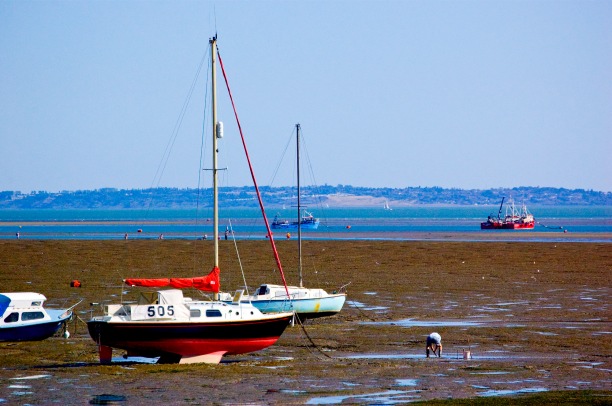
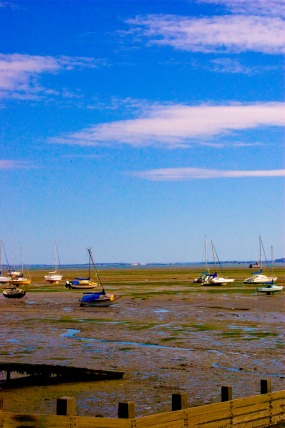
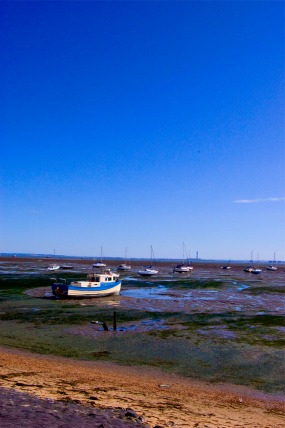
You will see from these landscapes below my mistakes with ISOs and noise. I had set the camera’s ISO to 1600 when I had meant to set the ISO Auto to go up to 1600 when necessary. How could I have known these 2 controls were different? Thankfully once again, I shot in RAW, and was therefore able to control the noise down on the third photo with the noise reduction tool. To do this in Photoshop had I shot them in JPEG would have been very tricky, in fact, I’m pretty sure I wouldn’t be able to do it. So far, I have tried, without any success. I now know better not to go shooting with very high ISOs on bright sunny days.
I'm Lily, the girl behind the lens. I would love to tell your story through photographs. Contact me and let's make a plan.
share this post


