In case you missed the intro to this series and the previous creative tip, click here and here.
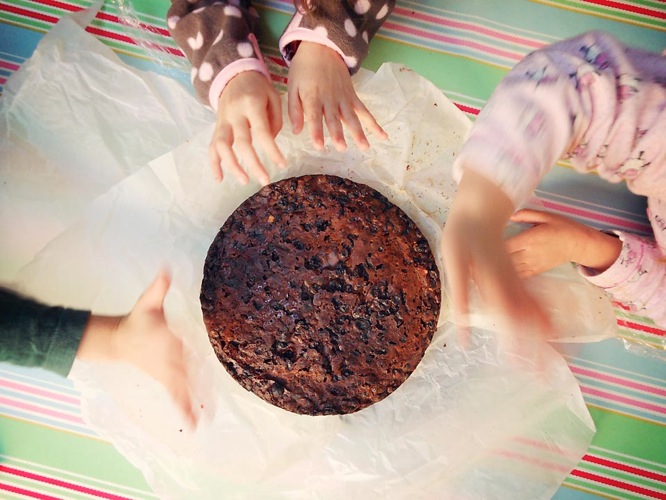
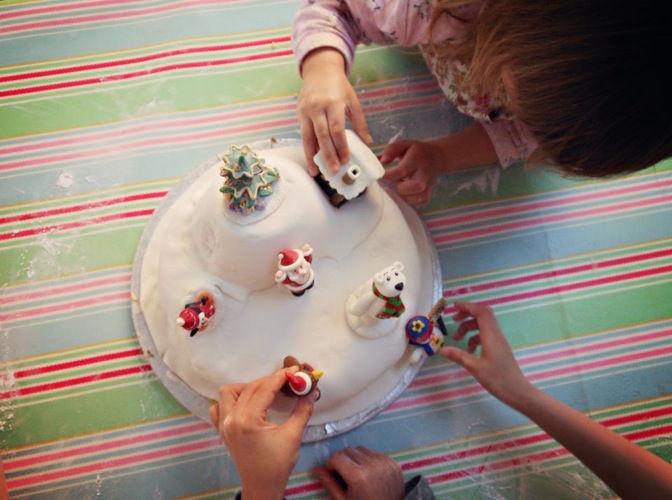
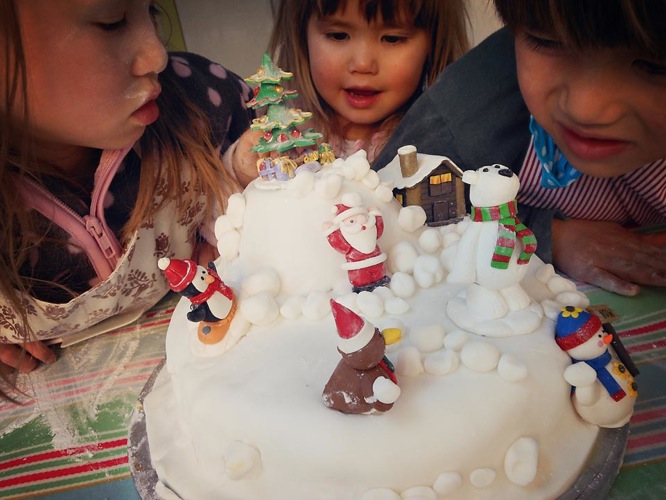
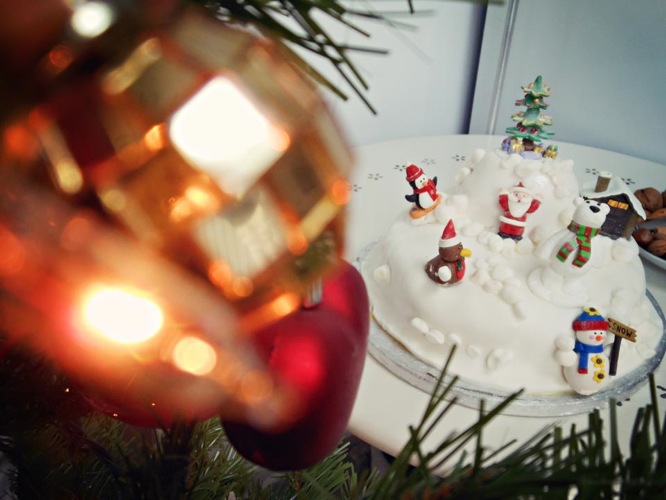
The second of the series is all about my family’s Christmas cake this year and pocket camera. There’s no step-by-step instructions, just an almost step-by-step photos documenting our Christmas cake decorating tradition. All shot with my pocket Nikon S6200 and quickly edited in Photoshop – took no time.
Easy tips: turn your pocket camera’s flash off, set the scene/mode to close-up, get your hands steady, fill the frame, get up close and personal, and experiment taking the shots from all angles.
But first, let me give you a little history about me and cakes. When I was little, my mother sent me to baking and cake decorating classes summer after summer. She is an excellent cake maker and decorator. She even makes her own sugar paste flowers and little figures: cars, babies, cute animals etc. She gets asked to make novelty cakes, from elaborate wedding cakes to simple birthday cakes. I guess her plan then was to start a cake business with me helping her out. So I learnt the trade from when I was in my early teens.
I’m not exactly sure what happened between then and having my own family. If you asked me to bake a cake now, not only will you get 1001 excuses and reasons why you or Marks & Spencers could do the job a million times better, but also because the most I will offer is a three minute microwave cake-in-a-mug that my sister-in-law shared with me. It is yummy – trust me! But that’s probably one of the reasons why God had put me and my husband together. Because if he wasn’t into cakes and cooking, can you imagine how deprived our kids would feel.
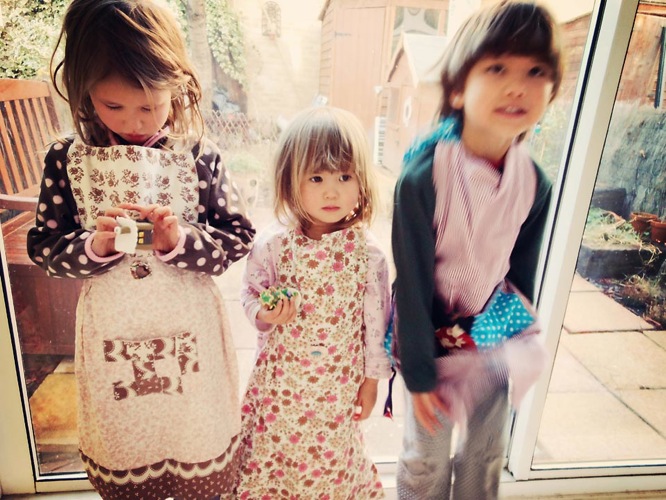
Actually, they’re not deprived kids at all – I made them their own aprons – see!
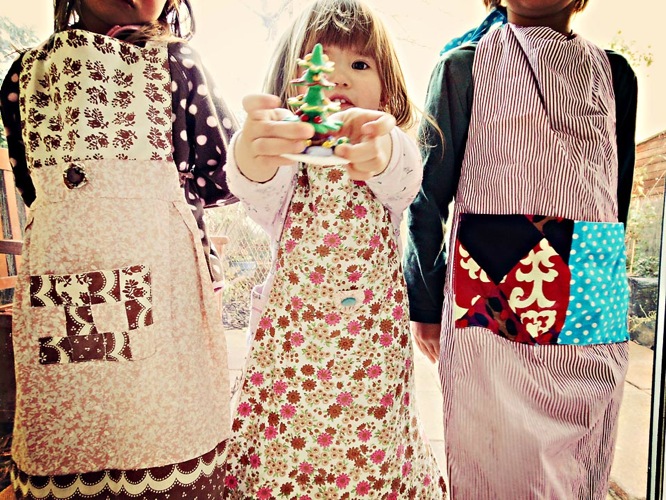
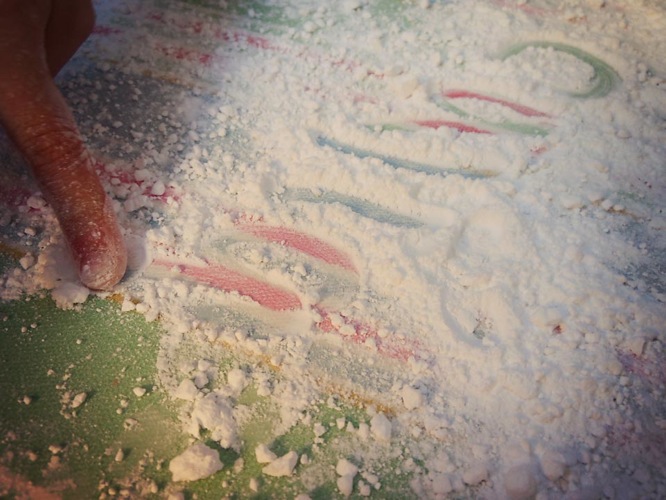
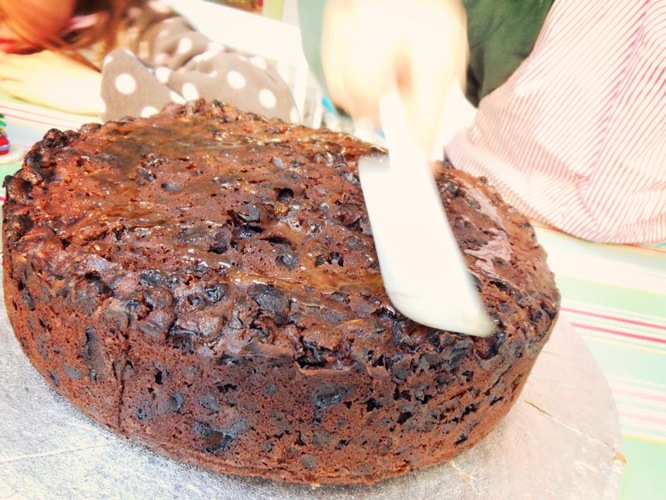
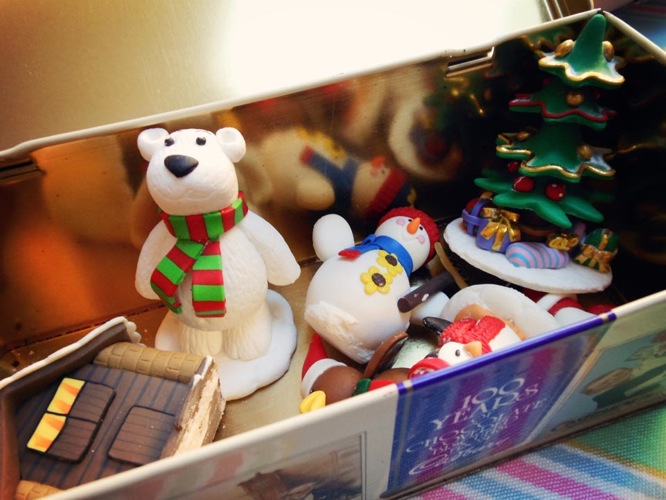
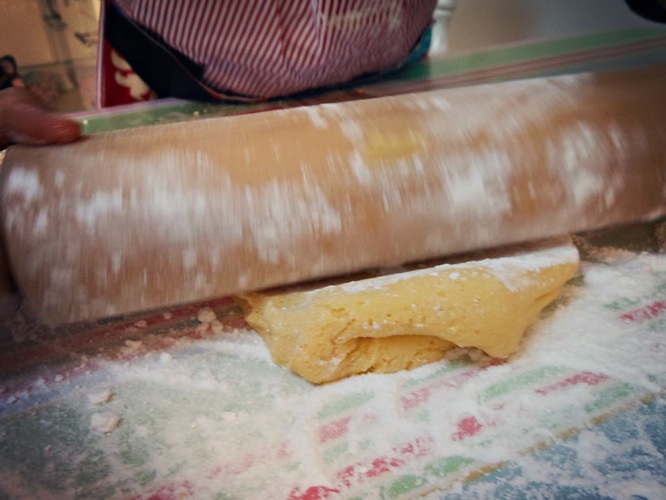
You’d have guessed by now that this rich, alcoholic, fruity, tasty Christmas cake has nothing to do with me. I did get roped in, however, to help decorate it because it’s now been a family tradition for 2 years. But that’s ok, I cleaned and prepared the table with icing sugar and took photos. At least, I was present!



Bonus! How to make a gingerbread house… {I took these photos last night so had to use my DSLR with a 35mm lens which allowed me to take photos in low light without using flash.}
Trust me, this house is easy-peasy to make! Just follow the steps below:
1. Raid your cupboard. If you’re lucky, you might find an Ikea gingerbread house from their Christmas Market food range, like I found which my sister-in-law gave me last year. Fortunately it was still in date. Just stick the bits of bread together with boiled sugar.
2. Raid your cupboard again for any hidden sweets. You never know what you’ll find! I found a box of maltesers, several tubes of love hearts and a tube of smarties…. none of which I’d bought – must be the other half!
3. Raid your baking cupboard. I found silver balls, hundred and thousand sprinkles, chocolate sprinkles in all shapes and sizes, and a bag of icing sugar.
4. Mix some icing sugar with water until you get a fairly hard paste consistency. Cover the house and stick your sweeties away!
Voila! Here’s the finished product.
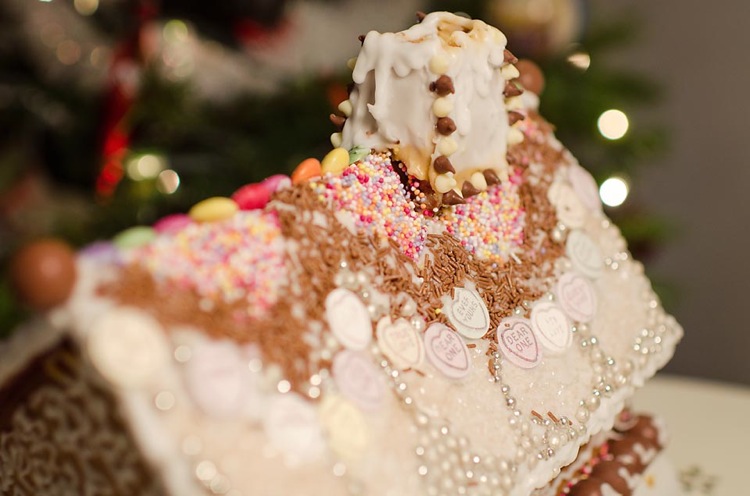

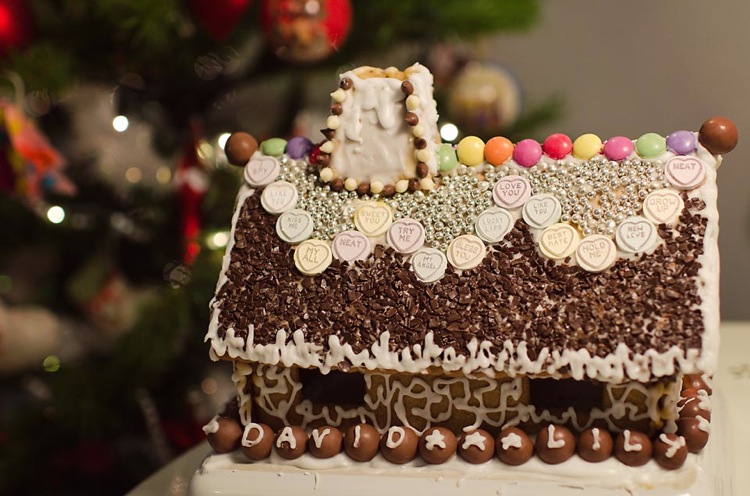
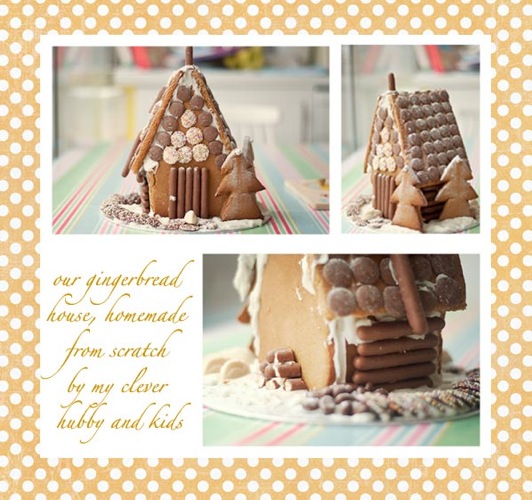
Last year, my husband and kids made our gingerbread house from scratch: a true labour of love. I think I prefer theirs.
